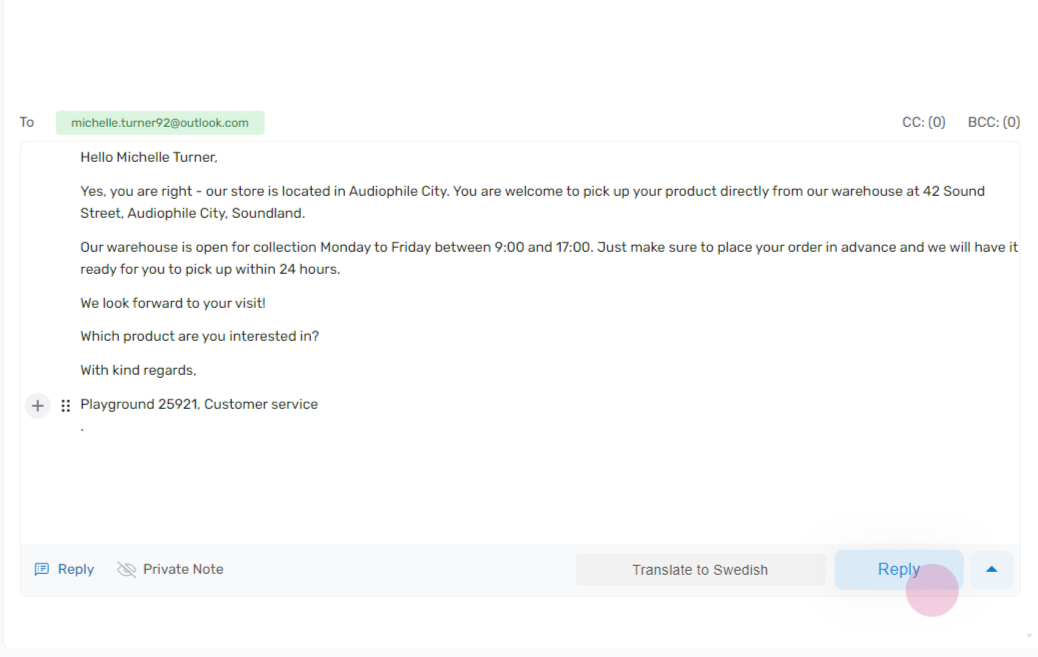
This guide will walk you through the process of using the built-in translation feature to work on tickets in any language.
Step 1:
To start, click on the ‘Translate’ button located at the top of the screen.
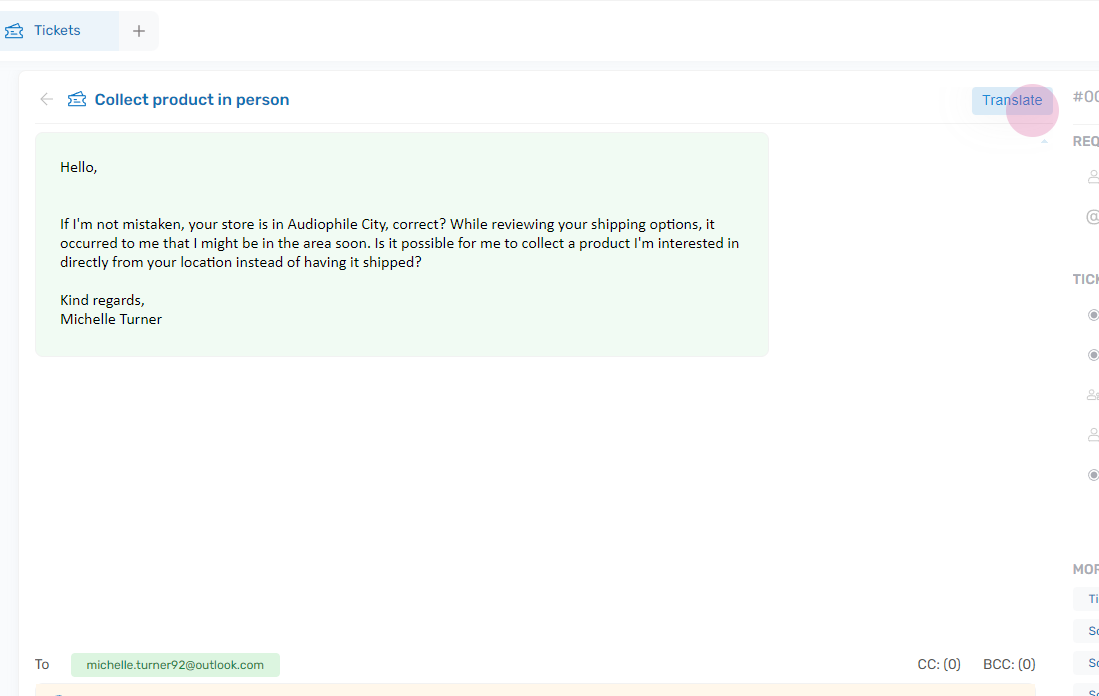
Step 2:
Next, select your desired destination language from the dropdown menu and click ‘Translate’.
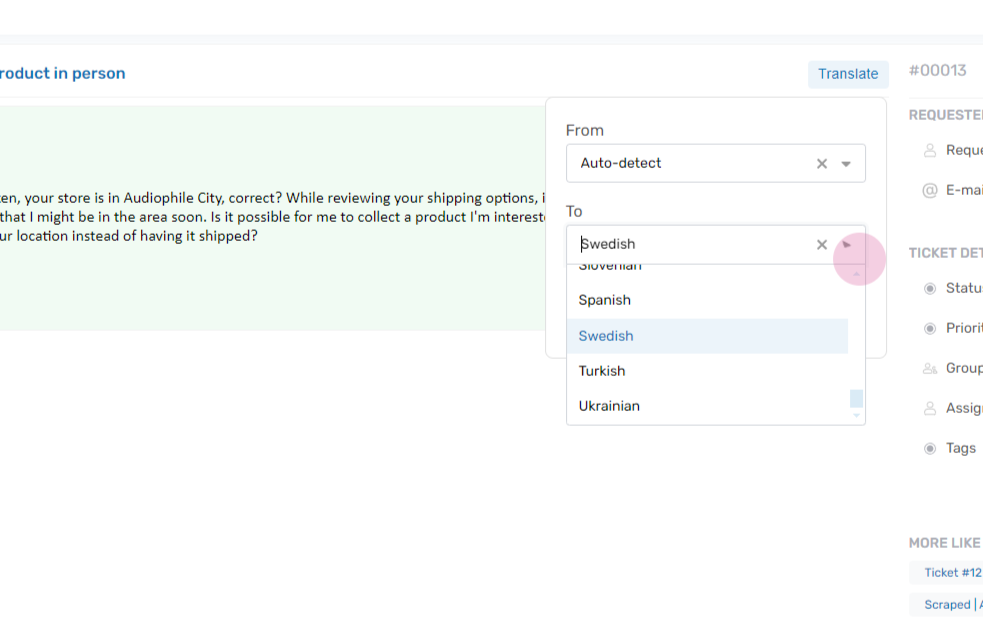
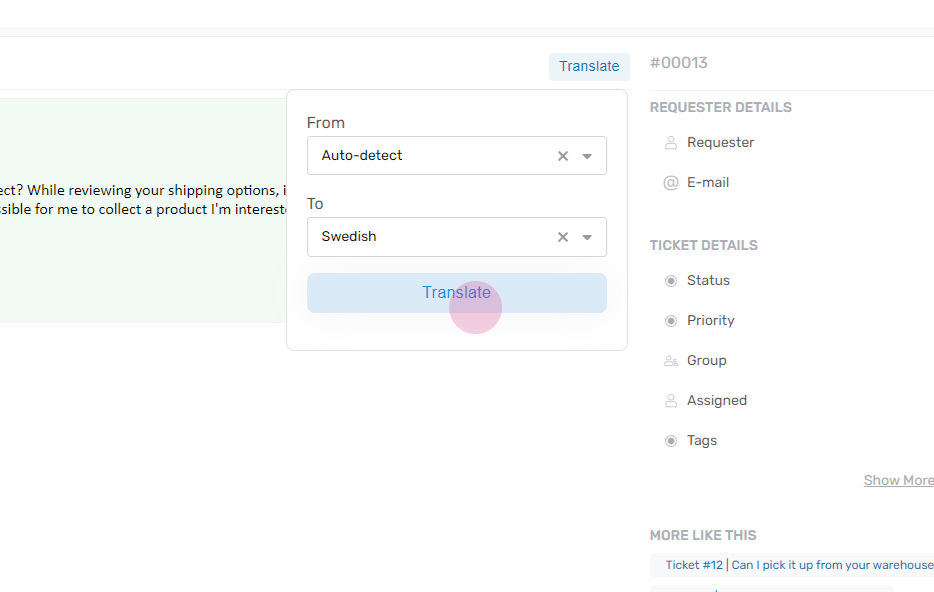
Step 3:
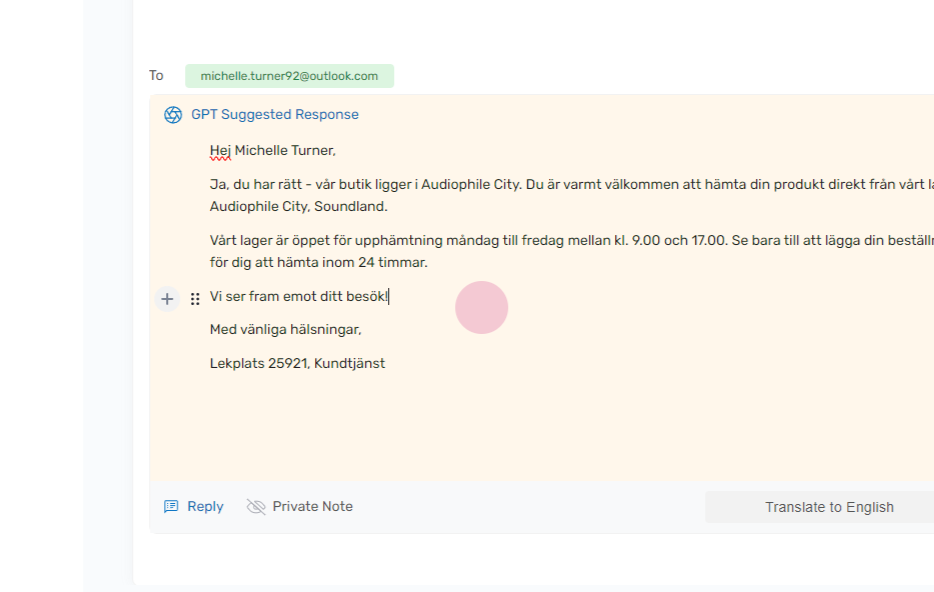
The system will then translate both the ticket, any conversation messages and the suggested reply.
You can now edit this reply in your own language.
Step 4:
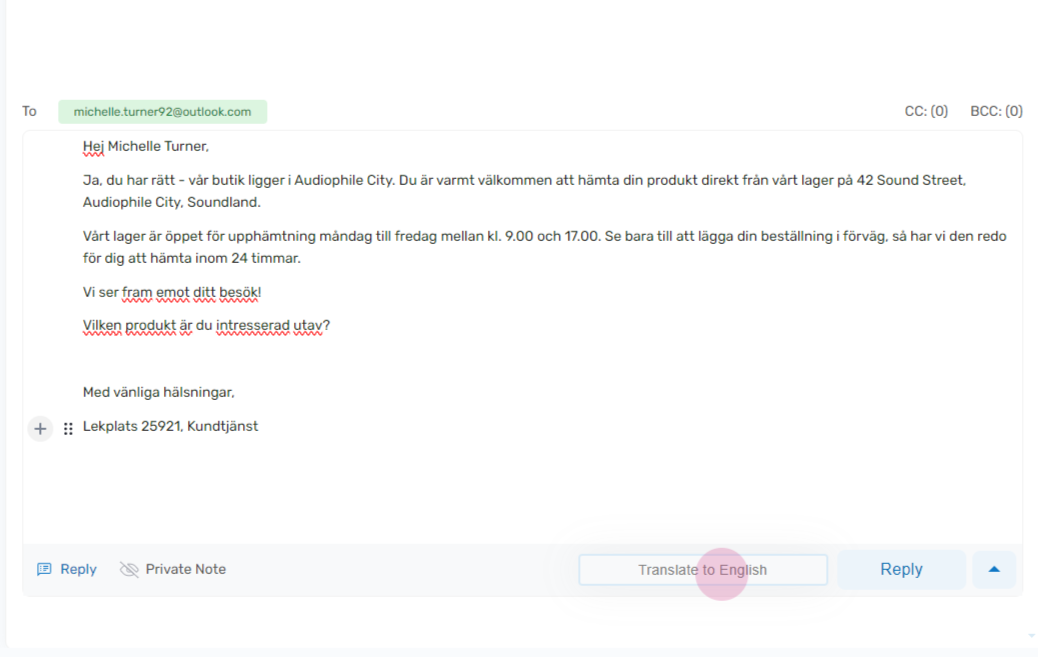
Once you have finished editing your reply, you can switch back to the original language by clicking on the ‘Translate’ button again.
Step 5:
Finally, you can send off your response just as you normally do.
